Stucco Repair 101: Fixing Cracks and Damage
Stucco, with its timeless appeal and resilience, is a popular choice for the exteriors of many homes. However, like any building material, it’s not immune to wear and tear. Over time, cracks and damage can appear, detracting from its beauty and potentially compromising its functionality. In this blog post, we’ll delve into the world of stucco repair, offering valuable insights into fixing cracks and damage to keep your stucco looking great and performing at its best.
Understanding Stucco Cracks:
Stucco cracks can occur for various reasons, including:
Materials and Tools You’ll Need
Before you begin repairing stucco, gather the following materials and tools:
Steps to Repair Stucco:
Prepare the Surface
Clean the damaged area of loose stucco, dirt, and debris.
If there are cracks, use a wire brush or chisel to open them up slightly, creating a V-shaped groove. This helps the new stucco adhere better.
Apply Bonding Agent
Brush a bonding agent onto the cleaned and prepped surface. This helps the new stucco bond to the existing stucco.
Mix the Stucco
Follow the manufacturer’s instructions to mix the stucco. It should have a consistency similar to peanut butter.
Apply the Stucco
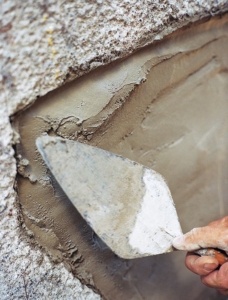
Using a trowel, apply the stucco mixture to the damaged area. Fill the crack or damage evenly, slightly overfilling to allow for shrinkage as it dries.
Texture the Stucco
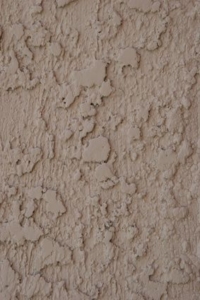
Match the texture of the surrounding stucco using a float or other texturing tools. This step requires some skill to achieve a seamless look.
Let It Cure
Allow the repaired stucco to cure according to the manufacturer’s instructions, typically for several days.
Paint or Finish
Once the repaired area is fully cured, you can paint or finish it to match the rest of the stucco.
Stucco’s energy efficiency benefits are not only good for the environment but also for your wallet. Lower energy bills, increased comfort, and reduced reliance on heating and cooling systems all add up to long-term savings.
Stucco isn’t just about aesthetics and durability; it’s also a material that contributes to energy efficiency in your home. Its thermal properties, when installed and maintained correctly, can help you create a comfortable living environment while reducing your energy consumption. When you choose stucco, you’re not only investing in the beauty and resilience of your home’s exterior; you’re also making a smart choice for energy efficiency and sustainability.


 Builder Boy, LLC