The Stucco Process Explained (Steps, Definitions & Factors)
Getting ready for a stucco project and not sure what to expect? This article covers the stucco process, what each step is, what each step means, common terms used by stucco contractors, plus factors you must consider when planning your stucco project.
The Stucco Process: Step-By-Step Guidelines
Here we outline the steps it takes to successfully complete a stucco project on any residential dwelling. These are only guidelines and are not actual instructions. These guidelines are based on the Long Beach city system and are subject to change deeping on the city in which the residence resides. Some conditions and factors may apply. Consult with your stucco contractor for more in-depth instructions on how they apply stucco to homes.
Step 1: Lath (Water Proof)
Water proofing your home is the most important part of the stucco process. Stucco is only as good as the protection it provides against mold, leaks, and other damages. The stucco process should always begin with lathing the walls.
What is Lath for Stucco?
Lath is the first step in the cement stucco process. It consists of water resistant paper, wire mesh and other metal components that make up the required preparation before the cement can be applied. It attaches to the walls of your home and is the foundation for applying stucco. Additionally, it acts as a line of defense against water intrusion, preventing mold and water damage to the walls of your home.
How Long Does It Take To Lath A Home?
Lathing your home depends on the size of the project. Although your contractor may provide you with a general timeline, there are some important factors to consider, such as availability of materials, weather, and other conflicting installations like windows or foam.
Step 2: Inspection of Lath
The inspection of the lath only happens if permits were pulled for your stucco project. When an inspector is called out to the construction site, they check to make sure that the staples are placed correctly, the nails are correct, the black resistance paper is installed properly, and that the lath is in place. This step is important because if the lath is not installed properly and the scratch coat is installed, it is hard to correct the lath. Although the inspection may affect the timing of the project may be extended, the workmanship and quality of the stucco will not change
Step 3: Scratch Coat
What is the Scratch Coat?
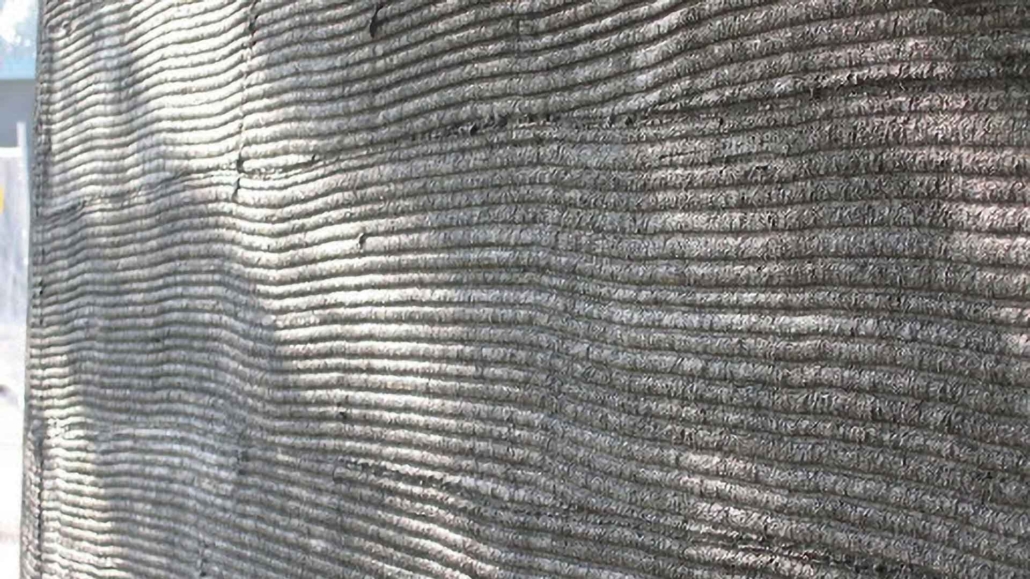
Scratch coat is a mixture of sand and cement. It is applied in lines on top of the lath. The scratch coat is applied in lines in order to make sure that the brown coat adheres properly. The scratch coat is then left to cure. Allowing the scratch coat to cure properly, ensures that the brown coat and the rest of the stucco process adheres correctly.
Step 4: Cure Time
The cure time is a very important step because it ensures that the scratch coat dries and is ready for the next step. Not allowing the proper cure time can result in your scratch coat malfunctioning. Cure time will vary depending on what product is being used.
Step 5: Brown Coat
What is Brown Coat for Stucco?
Brown coat is a thick layer of a mixture of sand and cement. The brown coat looks more like cement. This is the last part of the foundation for the sand finish for stucco. If the stucco finish is smooth, then poly prep must be applied.
Step 6: Cure Time
Once the brown coat is applied, it must cure to ensure that the poly prep or color coat adheres properly. Consult with your contractor or brown coat manufacturer for specific cure times.
Step 7: Poly Prep (For Smooth Stucco Applications Only)
What is Poly Prep?
The poly prep step includes both the poly prep and fiberglass mesh. For new construction stucco projects, poly prep is only needed if the stucco finish is smooth. However, poly prep is need for restucco regards of what finish it is. Poly prep is important because it prevents the stucco from large or irregular cracking. It is especially important for the restucco project because it allows the new stucco to adhere to the old stucco. The fiberglass is only needed for smooth stucco finishes. The poly prep is made by mixing crack isolation and cement that has a polymer in it.
Step 8: Painting Non-Stucco Surfaces
You or your contractor will now paint all of the non-stucco surfaces that may include, but are not limited to, wood sidings, window frames, any wood fixtures, and more.
Step 9: Color Coat
What is a stucco color coat?
The color coat is the final step for the stucco process. This step determines the texture and color of the stucco. The color coat is made by mixing a stucco base that determines the texture and a stucco color pack. Once the color coat has been installed then the crew will clean up and the project will be complete.
Stucco Color Coat vs Paint (Pros & Cons)
Homeowners desiring a color change or freshening up of their exterior stucco typically have to consider the options of painting the stucco versus color-coating the stucco. Learn which is best for you.
Step 10: Clean Up & Walk Through
Once the final layer of stucco is finished and dried, the construction crew will clean up. Your general contractor or project manager will then schedule a meeting with you in order to do a final walk through.
Factors That May Impact The Stucco Process
When you are starting the stucco process there are a lot of factors that may affect the timeline of your project. Weather is a huge factor that can affect how long the stucco process takes. Rain or strong weather can affect your workers ability to work and the cure times. Another thing to consider is the availability of your products. COVID-19 has caused a lot of material shortages and this may impact the start date of your product. Your contractor should never start a job without having all of the materials bought and ready to use. You do not want your contractor to demo the project site and then not be able to finish the project due to lack of materials and have to wait until the materials are available.


 Builder Boy, LLC